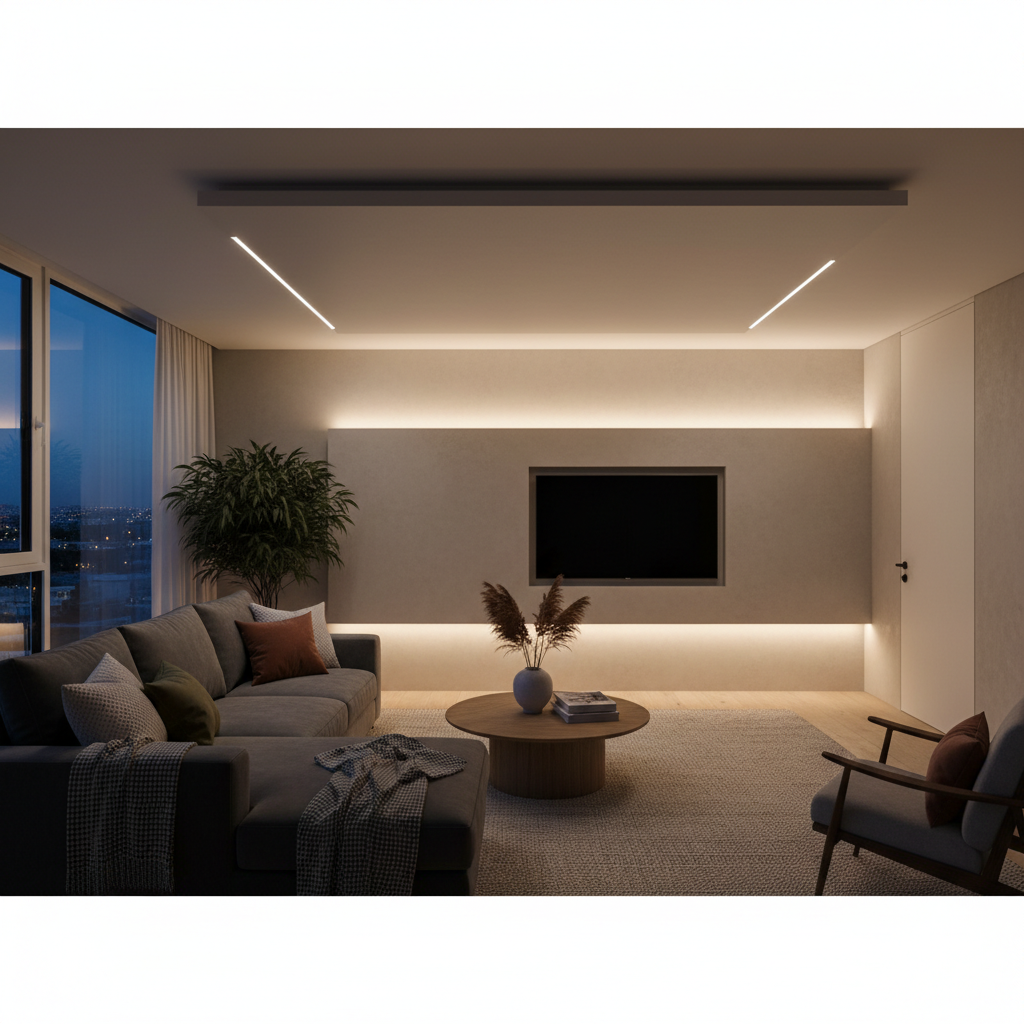
Transforming a room’s ambiance often begins with effective lighting, and recessed can lights offer a sleek, modern solution that integrates seamlessly into your ceiling. Installing recessed can lights in drywall might seem daunting, but with the right tools, knowledge, and a methodical approach, it’s a rewarding DIY project that can dramatically enhance your home’s aesthetic and functionality. This guide will walk you through every step, ensuring a safe and successful installation, even for those with limited electrical experience.
Choosing the Right Recessed Lights for Drywall Installation
Before you begin, selecting the appropriate recessed light fixtures is crucial, especially when working with existing drywall. Most DIY installations in finished ceilings will utilize “remodel” or “old-work” housings, which are designed to be installed from below the ceiling and secured directly to the drywall, rather than requiring access to ceiling joists.
- Remodel vs. New Construction Housings: Remodel housings are ideal for existing drywall, featuring clips or tension springs that secure them in a cutout hole. New construction housings are installed before drywall is put up and attach to ceiling joists. For this guide, we focus on remodel fixtures.
- IC-Rated vs. Non-IC-Rated: “IC” stands for “Insulation Contact.” If your ceiling has insulation that will come into direct contact with the light fixture, you must choose IC-rated lights to prevent fire hazards. Non-IC rated fixtures require at least a 3-inch clearance from insulation. Always check your ceiling’s insulation status.
- Can vs. Canless (Integrated LED) and Bulb Compatibility: Traditional “can” lights use a housing with a separate bulb. Many modern options are “canless,” featuring integrated LED arrays that are often thinner and simpler to install. If using traditional cans, ensure your chosen bulbs are compatible with the fixture’s wattage and type (e.g., LED, incandescent, halogen).
Essential Tools and Materials for a Successful Installation
Gathering all necessary tools and materials beforehand streamlines the process and ensures safety.
- Recessed light fixtures (remodel type, appropriate size)
- Voltage tester (non-contact recommended)
- Wire strippers/cutters
- Drywall jab saw or hole saw with an electric drill
- Measuring tape, pencil, and a template (often included with the fixture)
- Safety glasses and a dust mask
- Electrical tape and UL-approved wire connectors
- Fish tape (if routing new wires through the ceiling)
- Utility knife
- Stepladder
- Stud finder (optional, but helpful for avoiding obstructions)
Step-by-Step Guide: Installing Recessed Can Lights in Your Drywall Ceiling
A systematic approach is key to a smooth installation. Follow these steps carefully to ensure safety and a professional finish.
Step 1: Planning Your Layout and Prioritizing Safety
|
Our Picks for the Best Living room ceiling light in 2026
As an Amazon Associate I earn from qualifying purchases.
|
||
| Num | Product | Action |
|---|---|---|
| 1 | Amico 24 Pack 6 Inch 5CCT Ultra-Thin LED Recessed Ceiling Light with Junction Box, 1050LM Brightness, Dimmable Canless Wafer Downlight, 12W, ETL&FCC |

|
| 2 | Modern LED Ceiling Light 7 Rings Dimmable Fixtures with Remote Black Close to Ceiling Light 31.8" 130W 3000K-6500K Flush Mount Ceiling Lamp for Living Room,Bedroom,Kitchen |
|
| 3 | 36W Modern LED Ceiling Light Fixture, 19.7Inch Curved Wave Ceiling Lamp with Remote for Bedroom, Kitchen, Hallway, Foyer Library Dining Room Silver 6000K Modern Ceiling Light Fixture |
|
| 4 | Modern LED Ceiling Light for Bedroom 31.5" Black Kitchen Lighting Fixtures Ceiling 3000-6500K Dimmable Square Ceiling Light with Remote Control for Living Room, Dining Room, Kitchen |
|
| 5 | RUIYEY Modern Chandelier Ceiling Light Fixture Sputnik Chandeliers Gold and Black Farmhouse Chandelier Over Table 12-Light Height Adjustable Chandeliers for Dining Room, Living Room,Kitchen Island |
|
| 6 | Modern Ceiling Light, 36.2'' LED Dimmable Acrylic Square 6+1 Rings Ceiling Lights with Remote, Black Flush Mount Ceiling Light Fixture for Low Ceiling Bedroom Living Room Dining Room, 130W |
|
| 7 | Shine LUEST Modern LED Ceiling Light, Dimmable LED Chandelier Flush Mount Ceiling Lights, Remote Control Acrylic Ring Ceiling Lamp Fixture for Living Room Dining Room Bedroom (White, 8 Rings) |
|
| 8 | 33" Modern Chandelier Ceiling Light Fixture, 12-Light Sputnik Chandeliers Brushed Gold and Black Mid Century Chandelier Over Table, Height Adjustable Chandeliers for Dining Room Living Room Kitchen |
|
| 9 | Shine LUEST Modern LED Ceiling Light Fixture Black Kitchen Lighting Fixtures Ceiling for Bedroom 31.5" Dimmable 6 Ring Square Ceiling Light for Kitchen with Remote Control for Living Room,Dining Room |
|
| 10 | MEIXISUE Gold Modern Sputnik Chandelier Ceiling Light Fixtures,6-Lights Industrial Metal Semi Flush Mount Ceiling Light for Bedroom Dining Room Living Room Kitchen Hallway UL Listed |
|
Careful planning prevents headaches later. Decide on the number of lights and their placement to achieve desired illumination. Use a pencil and measuring tape to mark the center of each fixture on the ceiling. Consider factors like distance from walls, symmetry, and obstructions. Before cutting or touching any wires, ALWAYS turn off the power to the circuit you’ll be working on at the main electrical panel. Use a non-contact voltage tester to confirm the power is off at any existing light fixture or outlet you plan to connect to. This step is non-negotiable for your safety.
Step 2: Cutting Precision Holes in the Drywall
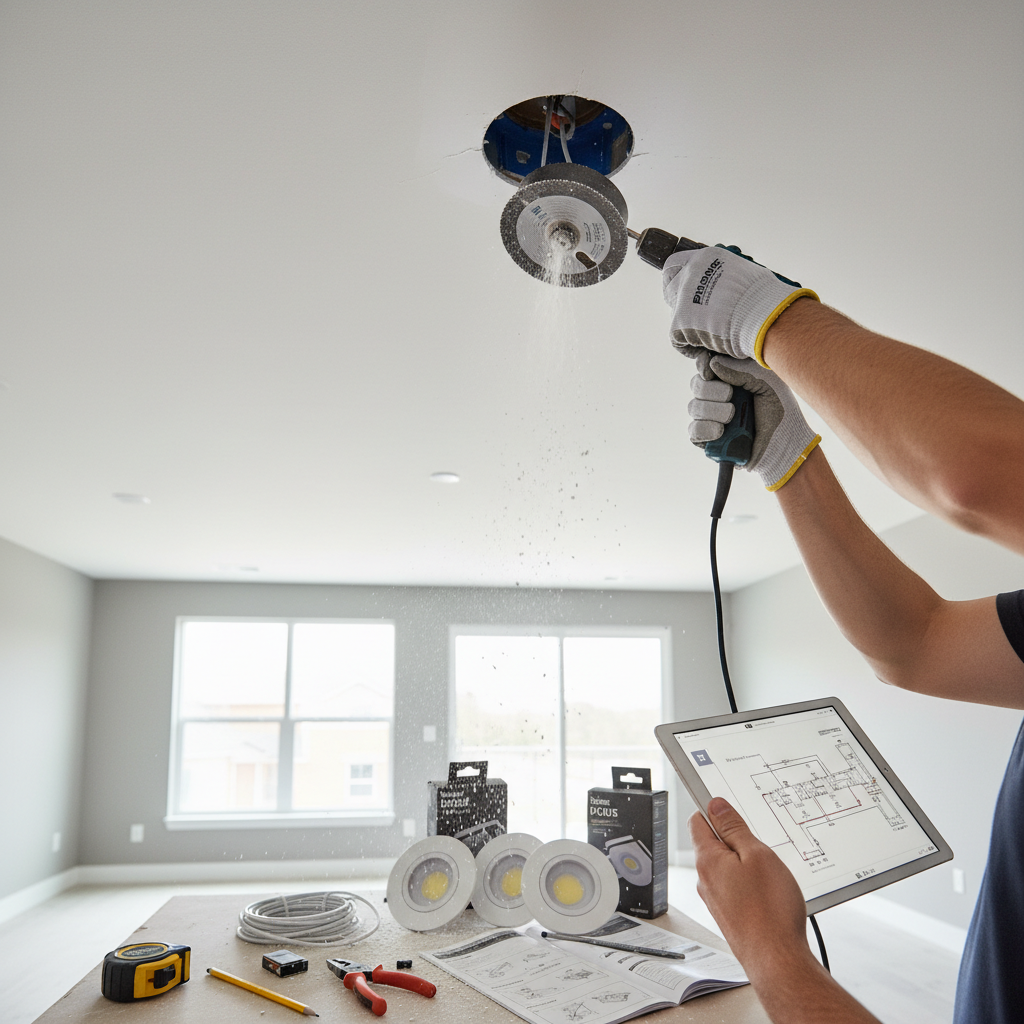
Most recessed lights come with a paper template for the exact hole size. If not, use the light’s housing to trace the circle. Secure the template to the ceiling at your marked locations and trace around it. For cutting, a drywall jab saw is effective for single holes, allowing for precise, controlled cuts. If installing multiple lights, a hole saw attachment on an electric drill can be faster and more accurate. Wear safety glasses and a dust mask to protect yourself from falling debris and drywall dust. Take your time to ensure clean, circular cuts, as a poorly cut hole can compromise the fixture’s secure fit.
Step 3: Running and Preparing Electrical Wiring
If you’re replacing an existing fixture, you may use the current wiring. If installing new lights or adding more, you’ll need to run new electrical cable (typically 14/2 or 12/2 NM-B, depending on your circuit’s amperage). You can often “branch off” from an existing light fixture or a nearby power source. Use fish tape to pull the cable through the ceiling cavity from the power source to each light’s location, leaving at least 18 inches of slack at each hole for easier wiring. If connecting multiple recessed lights, run cable from the first hole to the second, and so on.
Step 4: Making Secure Electrical Connections
Each recessed light fixture will have a built-in junction box. Open the cover to access the wiring. Using your wire strippers, carefully remove about 3/4 to 1 inch of the outer sheathing from the electrical cable, exposing the black (hot), white (neutral), and bare copper or green (ground) wires. Then, strip about 1/2 inch of insulation from the ends of the black and white wires. Connect the wires color-to-color: black to black, white to white, and ground to ground (the bare copper wire from your supply cable connects to the bare copper or green wire/screw in the fixture’s junction box). Secure these connections using UL-approved wire connectors (wire nuts). Ensure all connections are tight and secure. Once wired, carefully fold the wires into the junction box and securely fasten the cover.
Step 5: Mounting the Recessed Light Housing
With the wiring complete, it’s time to insert the fixture. Most remodel recessed housings have a series of spring clips or torsion springs designed to clamp onto the drywall. Push the can body up into the cutout hole until its flange is flush with the ceiling. Then, engage the clips or springs according to the manufacturer’s instructions. Typically, you’ll push them up and outward until they click into place, firmly securing the fixture to the drywall. The fixture should feel snug and stable, without any wobbling.
Step 6: Installing the Trim and Light Source
The final decorative piece is the trim, which covers the rough edge of the hole and directs the light. Recessed light trims are usually mounted with coil springs or squeezable rod springs. If your trim has coil springs, hook them to the assigned holes inside the can and carefully guide the trim into position. For rod springs, squeeze and insert both ends into their respective holes, then push the trim up until it sits flush with the ceiling. Finally, screw in your compatible light bulb or insert the integrated LED module into the fixture.
Step 7: Final Test and Enjoyment
Once all fixtures are installed, double-check all connections and ensure everything is securely in place. Go back to your main electrical panel and turn the power back on to the circuit. Flip the light switch and test each recessed light individually. If all lights illuminate correctly, congratulations! You can now enjoy your newly enhanced living space.
Troubleshooting Common Recessed Lighting Installation Issues
Even experienced DIYers can encounter minor setbacks. Here are a few common issues and their solutions:
- Loose Connections: If a light isn’t working, or flickers, the most common culprit is a loose wire connection. Re-check all wire nuts in the junction box.
- Hole Size Discrepancies: If your cut hole is slightly too large, you might need a trim ring with a wider flange to cover the gap. For significantly oversized holes, a drywall patch might be necessary before re-cutting the correct size.
- Flickering Lights: This can be due to a loose connection, an incompatible dimmer switch, or a faulty bulb. Isolate the problem by trying a different bulb or checking the dimmer’s specifications.
Conclusion
Installing recessed can lights in drywall is a practical home improvement project that can dramatically update the look and feel of any room. By carefully following each step—from planning and preparing to wiring and mounting—you can achieve professional results and enjoy the benefits of modern, integrated lighting. Remember to always prioritize safety by turning off power and using proper tools. With patience and attention to detail, you’ll soon be basking in the warm glow of your newly installed recessed lighting.
Are you ready to illuminate your space with recessed lighting?
Frequently Asked Questions
What kind of recessed lights are best for existing drywall?
For existing drywall, “remodel” or “old-work” recessed housings are best. These fixtures are designed to be installed from below the ceiling and typically use spring clips or torsion springs to secure themselves directly to the drywall cutout, without needing access to ceiling joists.
Do I need an electrician to install recessed lighting?
While installing recessed lighting is a common DIY project, it involves electrical work. If you are uncomfortable with wiring, have complex electrical needs, or are installing a large number of lights, consulting or hiring a licensed electrician is highly recommended to ensure safety and compliance with local electrical codes.
How far apart should recessed lights be placed in a room?
The ideal spacing depends on the room’s size, ceiling height, and desired light intensity. A general rule of thumb for ambient lighting is to space lights approximately half the ceiling height apart. For example, in a room with an 8-foot ceiling, lights might be spaced 4 feet apart. Always plan your layout to avoid dark spots and ensure even illumination.
Can I install recessed lights if I have insulation in my ceiling?
Yes, but you must use “IC-rated” (Insulation Contact rated) recessed light fixtures. These fixtures are designed to safely come into direct contact with insulation without posing a fire hazard. Non-IC rated fixtures require at least a 3-inch clearance from any insulation.
What tools do I need to cut holes for recessed lights?
You will need either a drywall jab saw for manual cutting or a hole saw attachment on an electric drill for faster and more precise circular cuts. Always use the template provided with your light fixture to ensure the correct hole size and wear safety glasses and a dust mask.